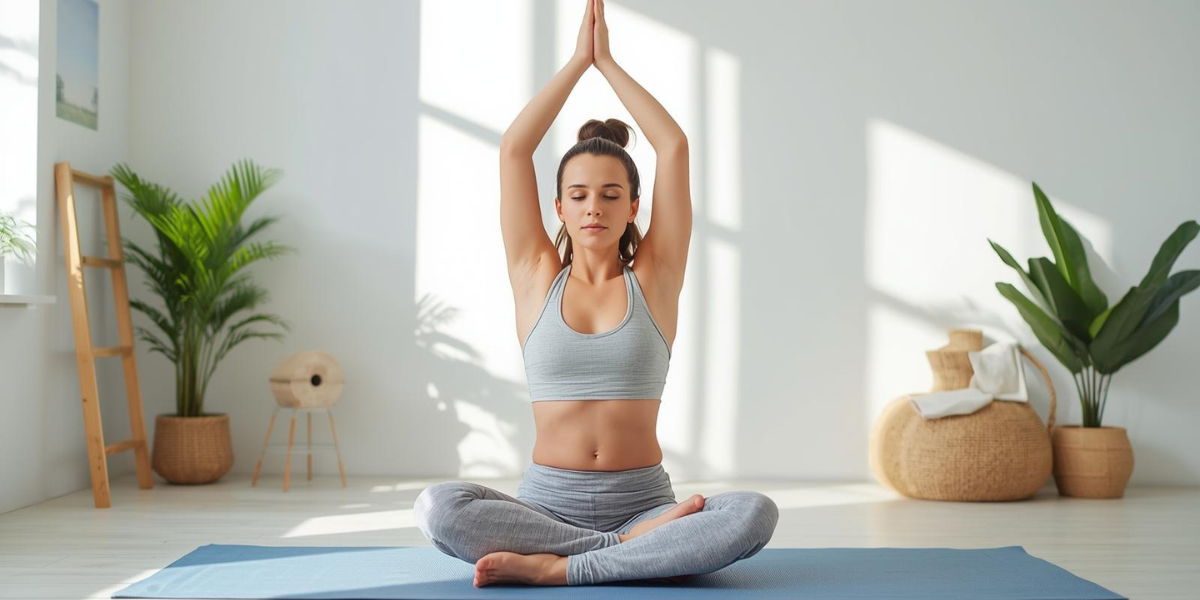


How to Do Yoga Headstand for Beginners
What is a Yoga Headstand and Why Should Beginners Learn It?
A headstand, also known as Sirsasana in Sanskrit, is one of yoga’s most powerful inversion poses. Despite its intimidating appearance, beginners can safely learn this pose with proper preparation and guidance. This comprehensive guide will walk you through everything you need to know about mastering a yoga headstand as a beginner.
The Amazing Benefits of Practicing Yoga Headstand
Physical Benefits of Headstand Practice
Yoga headstands offer transformative physical benefits when practiced correctly. This inversion pose builds exceptional strength in your arms, shoulders, neck, and core muscles. Regular headstand practice increases blood circulation to your brain and scalp, which can enhance mental clarity and promote healthier hair growth by nourishing hair follicles.
Many yoga practitioners report that consistent headstand training boosts energy levels and overall stamina throughout the day. The pose also improves balance, proprioception, and body awareness during everyday activities.
Mental and Emotional Benefits of Inverting Your Body
Beyond physical advantages, headstands build tremendous confidence and help you overcome the natural fear of being upside down. The practice cultivates focus, patience, and deeper body awareness. Conquering this challenging pose creates a powerful sense of achievement and emotional resilience that extends far beyond your yoga mat.
Essential Preparation Before Attempting Your First Headstand
Safety First: Contraindications and Prerequisites
Before attempting headstands, ensure you meet these important prerequisites. You should have consistent yoga experience, adequate core and upper body strength, and no contraindications. Avoid headstands if you have neck or back injuries, high blood pressure, glaucoma, or are pregnant. Consult your doctor if you’re unsure about your readiness.
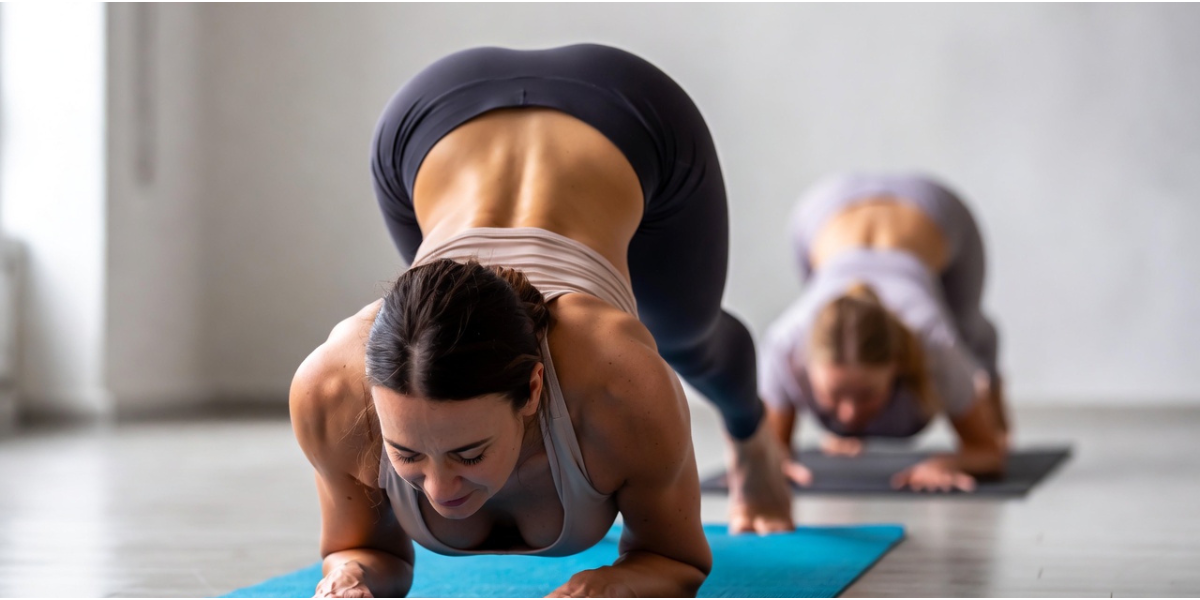
Building Foundational Strength with Dolphin Pose
The dolphin pose is the most effective preparatory exercise for building headstand strength. Here’s how to practice it correctly:
- Start on all fours with your forearms on the mat, parallel to each other and shoulder-width apart
- Interlace your fingers firmly, creating a stable triangle with your arms
- Tuck your toes under and lift your hips, similar to downward-facing dog but on your forearms
- On an inhalation, shift your weight forward into a forearm plank position
- On an exhalation, press back to the starting position
- Repeat this movement 8-10 times daily for 3-4 weeks
Practicing dolphin pose consistently for three to four weeks builds the durable strength necessary for safe headstand practice.
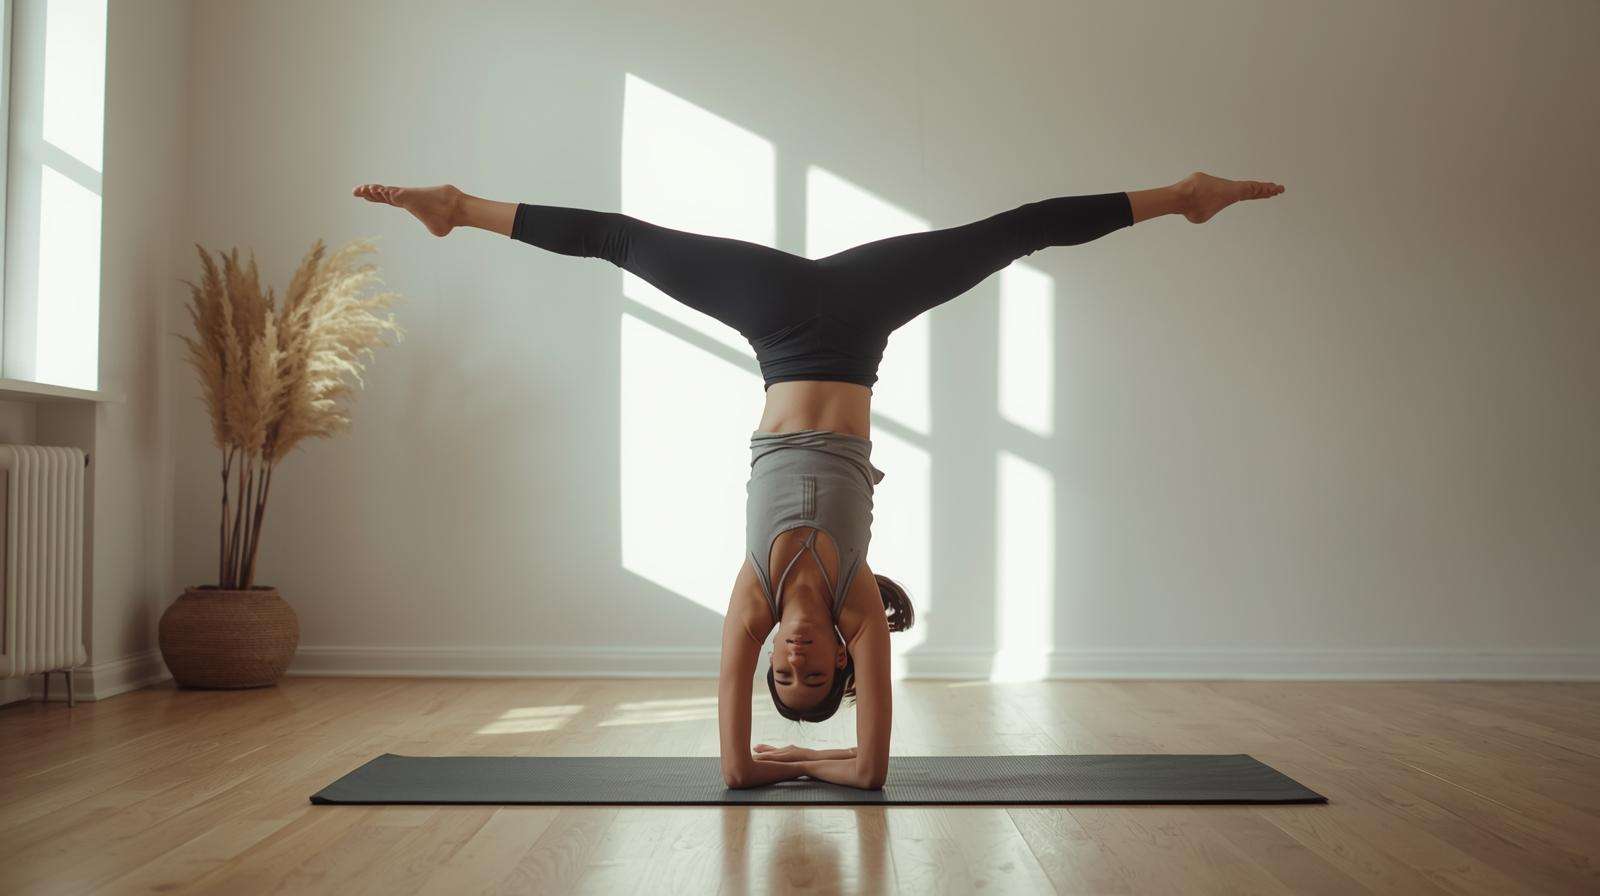
Mastering Proper Hand and Head Placement for Headstands
The Most Common Beginner Mistakes to Avoid
The most critical aspect of safe headstand practice is correct head and hand placement. Improper positioning places dangerous stress on your neck and cervical spine. Many beginners make the mistake of resting too much weight on their head, which can cause serious injury.
The Correct Headstand Foundation Technique
Imagine holding a tennis ball between your palms to create the perfect hollow space for your head. Your crown (the very top of your head, not your forehead or back) should rest at the base of your palms, right at the wrist crease. This creates a stable tripod base using your two forearms and head.
The key to safety is distributing the majority of your weight through your forearms and wrists, not your head. Simultaneously, engage your shoulder girdle by pressing the tops of your shoulders down away from your ears and activating your rear deltoids. This engagement prevents pressure on your neck.
Step-by-Step Instructions: Your First Supported Headstand
Week 1-2: Foundation Building Phase
During your first two weeks, focus exclusively on dolphin pose and proper hand placement. Practice for 5-10 minutes daily, perfecting your form before attempting any inversions.
Week 3-4: Introduction to Wall-Supported Headstand
Step 1: Create Your Foundation Kneel facing a wall, approximately 5-10 inches away. Place your forearms on the mat with elbows shoulder-width apart. Interlace your fingers and position the crown of your head on the mat, cradled by your hands.
Step 2: Walk Your Feet Inward Tuck your toes under and straighten your legs. Walk your feet inward slowly until your hips align directly over your shoulders. You’ll feel a natural balance point here. Trust your foundation by pressing firmly into your forearms and engaging your core muscles.
Step 3: Lift Your Legs with Control Bend your knees and slowly lift them toward your armpits, allowing your lower back to gently contact the wall for support. From this tucked position, gradually extend your legs upward using the wall as a stabilizer. Keep your entire body engaged and active throughout.
Step 4: Hold and Exit Safely Start by holding for 10-15 seconds, gradually increasing duration as you gain confidence and strength. To exit the pose safely, bend your knees, bring them to your chest, and slowly lower your feet to the floor. Always follow your practice with child’s pose for 30-60 seconds to allow your body to recover.
Week 5 and Beyond: Progressing Away from the Wall
Once you feel confident with wall support, you can begin exploring balance in the center of the room with assistance from a qualified yoga teacher or spotter.
Advanced Tips for Long-Term Headstand Success
Practice Guidelines for Safe Progression
Never kick up explosively—instead use controlled core engagement to lift your legs. Ask a friend or certified yoga teacher for a spot during early attempts away from the wall. Learn to somersault out gracefully if you feel yourself falling forward by tucking your chin and rolling gently.
Listen carefully to your body’s signals. Some mild discomfort is normal as you build strength, but sharp pain—especially in your neck—means you should stop immediately and reassess your alignment.
Creating Your Optimal Practice Schedule
Brief, regular practice is far more effective than occasional long sessions. Aim for 5-10 minutes of daily headstand practice rather than sporadic hour-long attempts. Consistency builds strength gradually and safely over time.
Common Headstand Mistakes and How to Correct Them
Resting too much weight on your head: This places dangerous pressure on your cervical spine. Instead, distribute weight evenly through your forearms and wrists.
Flaring your elbows too wide: Wide elbows destabilize your entire foundation. Keep your elbows precisely shoulder-width apart for maximum stability.
Kicking up forcefully: Forceful kicks rely on momentum rather than core strength, risking serious injury. Always lift your legs slowly with controlled core engagement.
Holding your breath: Breath-holding creates unnecessary tension and reduces balance. Maintain steady, calm breathing throughout your entire practice.
Conclusion: Your Journey to Mastering the Yoga Headstand
The path to mastering a yoga headstand is rewarding, building both physical strength and mental resilience. By approaching this powerful pose with patience, proper preparation, and consistent practice, you’ll gradually unlock all of its incredible benefits. Remember that every experienced yogi was once a beginner, and the true value lies in the practice itself—celebrating each small improvement in strength, balance, and alignment understanding.
Listen to your body, celebrate small victories, and trust the process. With dedication and mindful practice, you’ll soon experience the joy and empowerment of safely holding a stable headstand. Your inversion journey starts now—one deliberate, conscious step at a time.

Faisal is the founder and content creator of The Workout Haven, a fitness and wellness blog focused on home workouts, weight loss, strength training, yoga, and healthy lifestyle habits. He creates easy-to-follow, beginner-friendly fitness guides backed by research, practical experience, and real-world application. Faisal’s goal is to help people stay active, build strength, and improve overall health—no gym or expensive equipment required.